Wedding signage is more than just directional guidance—it’s a chance to add charm, personality, and style to your special day. From rustic wooden boards to whimsical chalkboard creations, the right signs can make your wedding feel uniquely yours. Whether you’re aiming for a casual backyard vibe or a romantic garden affair, these 25 adorable wedding signs are easy to DIY, budget-friendly, and perfect for adding playful details that guests will notice and love.
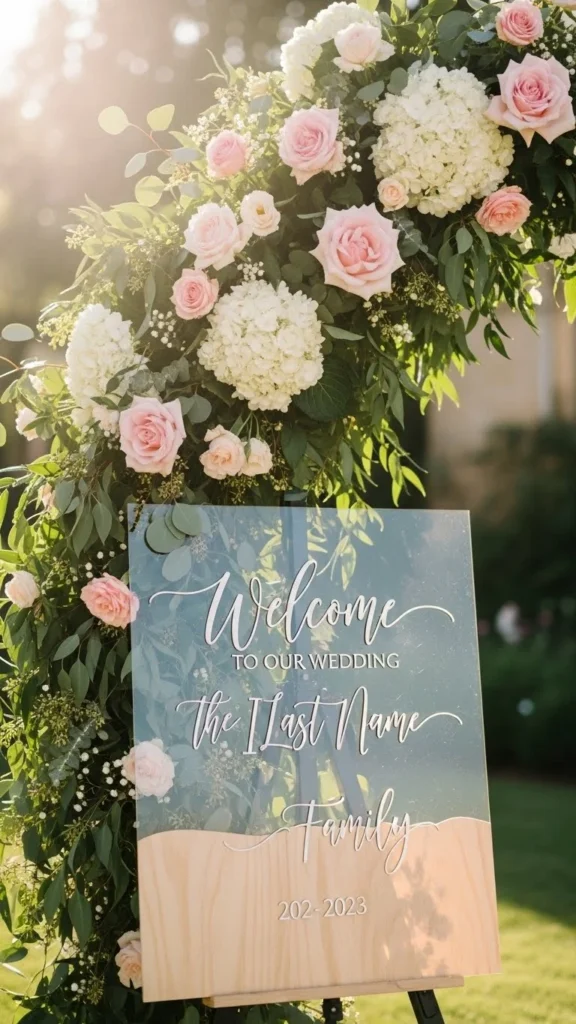
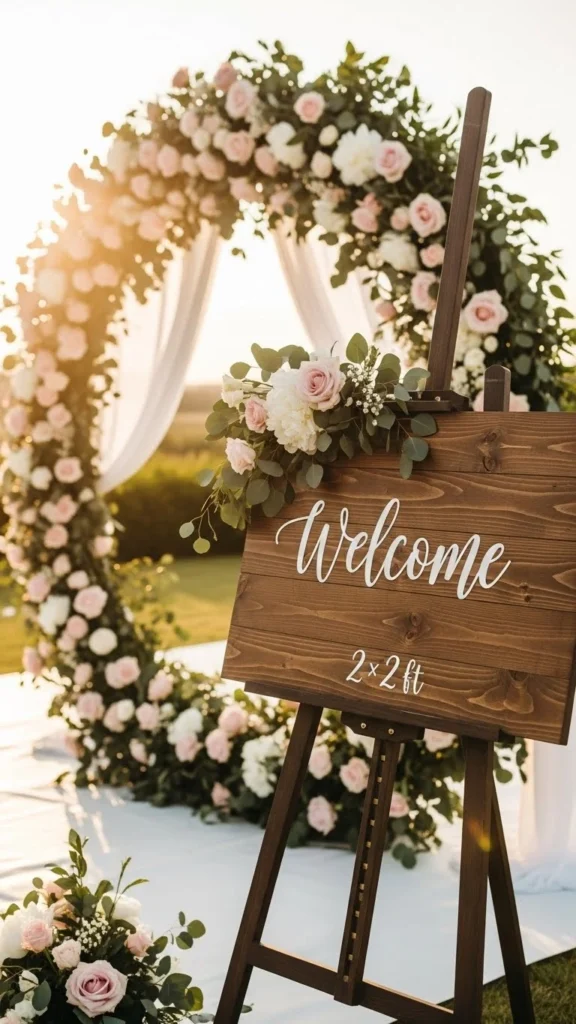
1. Welcome Board With Flowers

A welcoming sign sets the tone for your entire celebration. Opt for a simple wooden board and pair it with fresh or faux flowers to create an inviting entrance. Paint a cheerful message with white chalk or acrylic. You can even stencil patterns for a uniform look. For a budget-friendly twist, shop at thrift stores for old frames and repurpose them as signboards. Adding small flower garlands around the edges instantly brightens the setup. Guests will feel embraced the moment they walk in.
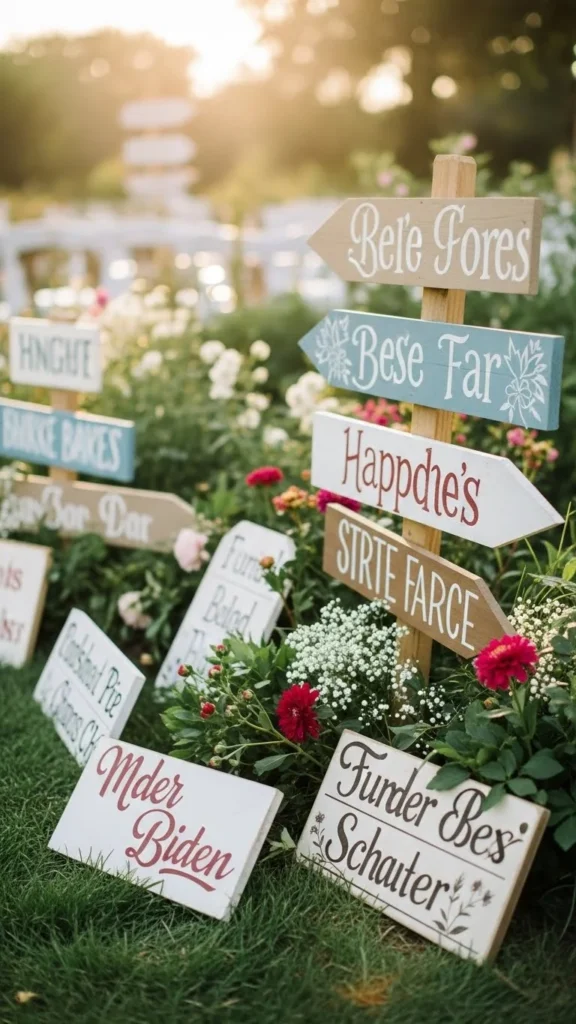
2. Directional Arrow Signs
Arrow signs help guests find their way while adding playful charm. Use reclaimed wood or cardboard for DIY options. Paint arrows in contrasting colors, then attach them to stakes or hang from posts. You can even tie ribbons or greenery around the signs to match your wedding theme. Place arrows at key points like the ceremony, reception, or restroom areas. This simple touch keeps everyone oriented and adds a rustic, cheerful vibe without breaking the budget.
3. Chalkboard Welcome Sign
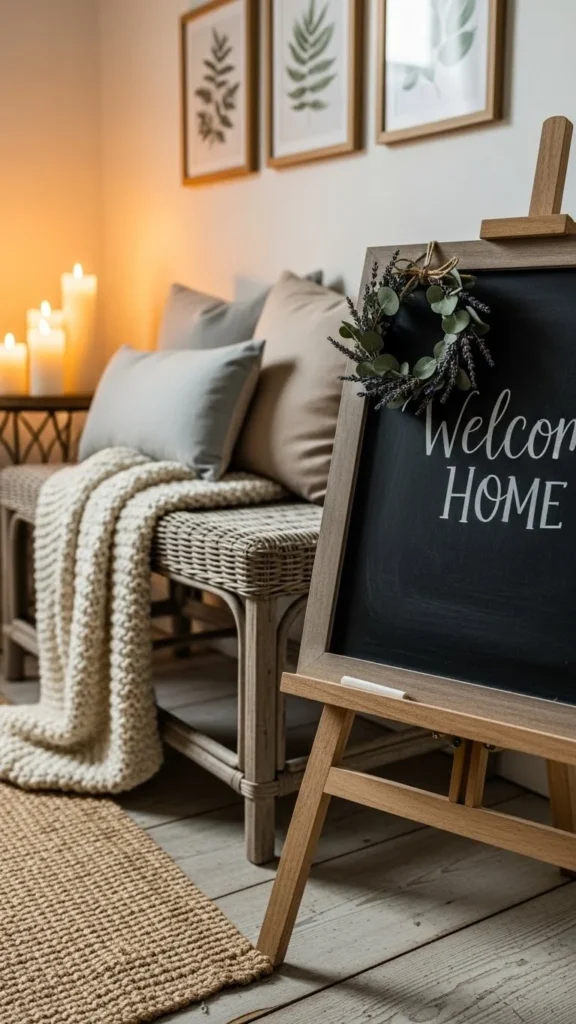
A mini chalkboard sign is a charming way to greet guests or add personality to any corner of your space. Write a warm welcome message in playful lettering, and decorate the edges with simple doodles like leaves, stars, or flowers. Using chalk markers keeps the design clean and makes changes easy. For a quick DIY project, grab an inexpensive chalkboard from a craft store and add a few sprigs of greenery or ribbon around the frame. It’s an inviting, customizable detail that adds warmth and creativity to your décor.
4. Reserved Seating Signs
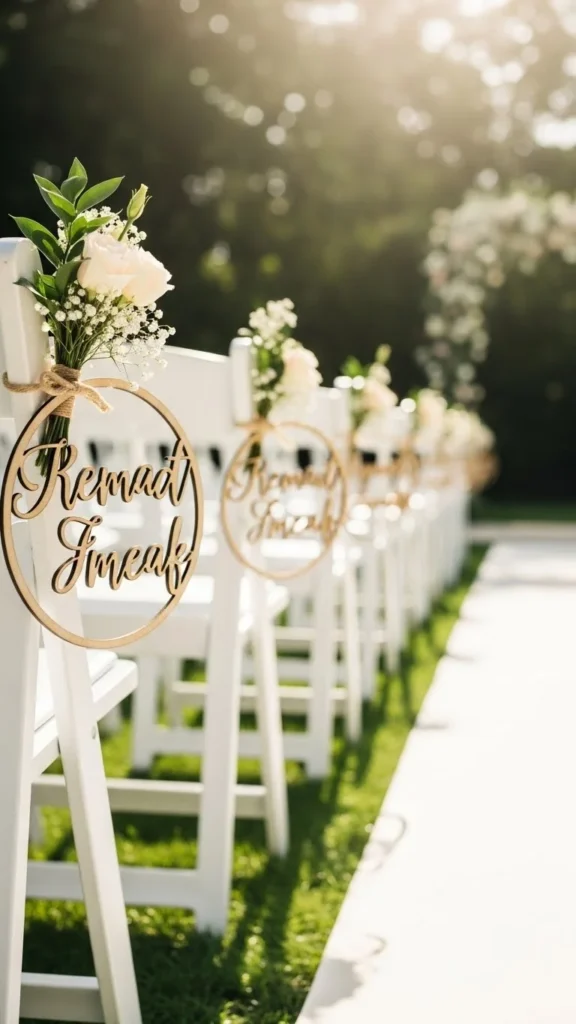
Marking reserved seats adds order and style. Small wooden or acrylic signs work beautifully. You can personalize with guests’ names using simple calligraphy or printed labels. Clip them to chairs with twine or ribbons. A fun DIY trick is to use mini chalkboards on stands—easy to update and reusable. This thoughtful touch shows attention to detail and keeps seating organized without feeling stiff or formal.
5. Table Numbers With Greenery
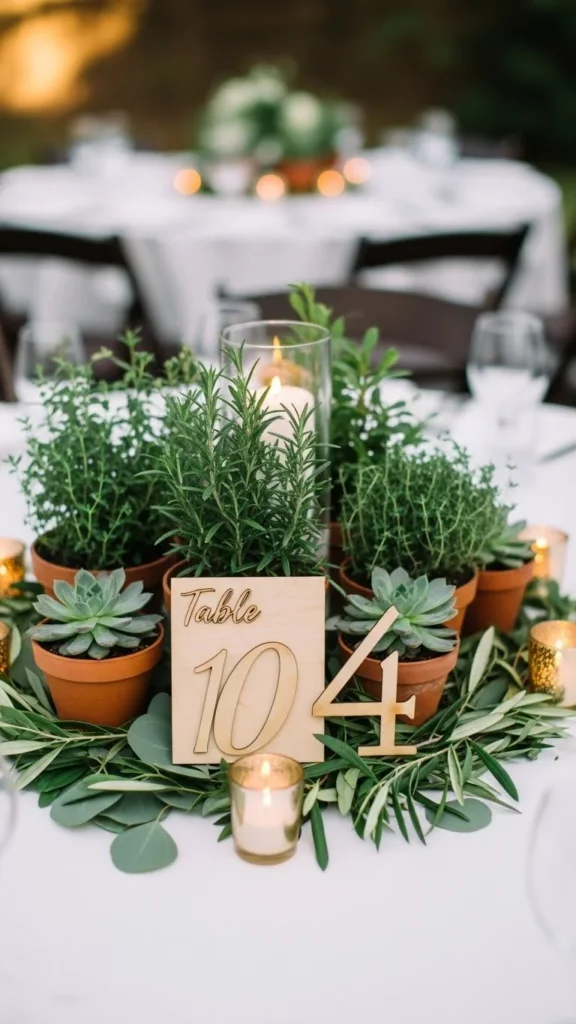
Instead of plain numbers, decorate them with greenery or flowers. Small wooden blocks or cards work well. Tie twine or place mini bouquets around the base. This adds texture and natural beauty without spending a lot. You can even paint the numbers yourself in metallic or pastel shades to match your palette. Guests will love the charming, cohesive look at every table.
6. Sweet Treats Signage

Guide guests to desserts with playful signage. Use mini chalkboards, wooden slices, or cardboard signs. Add decorative elements like tiny flowers or ribbon. Hand-lettering gives a personal touch and is simple to DIY. You can even make small stakes to insert directly into desserts or jars. These signs make your sweet table look curated and welcoming.
7. Photo Booth Instructions
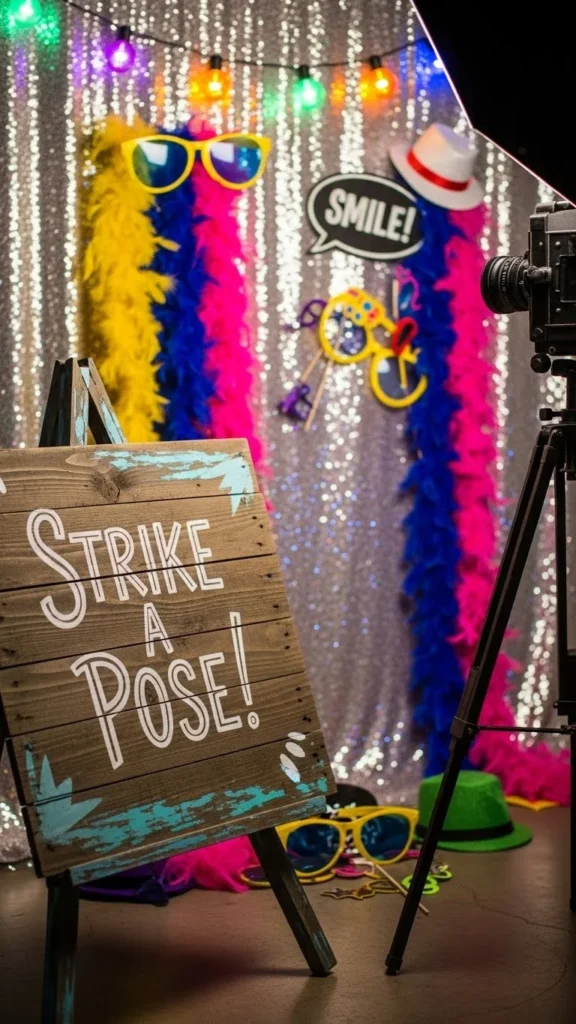
A sign with photo booth instructions encourages guests to have fun. Simple phrases like “Grab a prop and strike a pose” work perfectly. Craft from cardboard or wood, paint in bright or neutral colors, and add small embellishments like string lights. DIY options include printing instructions and framing them in thrifted frames. It keeps your photo station organized and playful.
8. Guest Book Directions
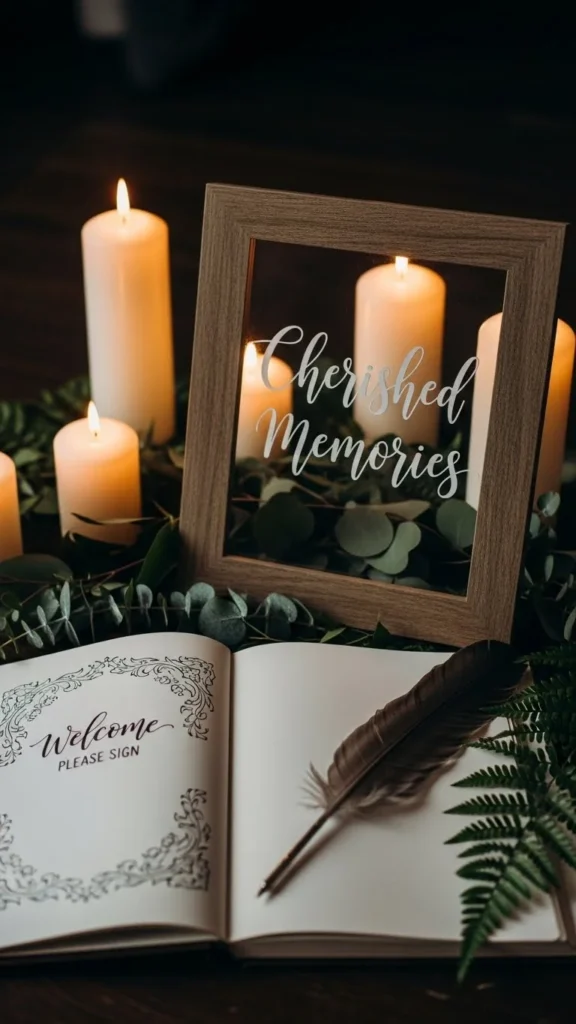
Pointing guests to the guest book ensures everyone leaves a note. Use a small wooden board or framed cardstock. Decorate with fresh flowers or greenery to match your theme. DIY is easy: paint the frame, add glitter or ribbon, and you’re done. This little touch makes the signing process effortless and visually appealing.
9. Ceremony Hashtag Sign
Encourage social sharing with a wedding hashtag sign. Use wood, acrylic, or chalkboards. Simple hand lettering or stencils work well. Place near the entrance or photo areas. You can also DIY by printing your hashtag on cardstock and framing it. Guests will know how to tag photos, helping you collect memories easily while adding a personalized decorative element.
10. Rustic Welcome Wagon Sign
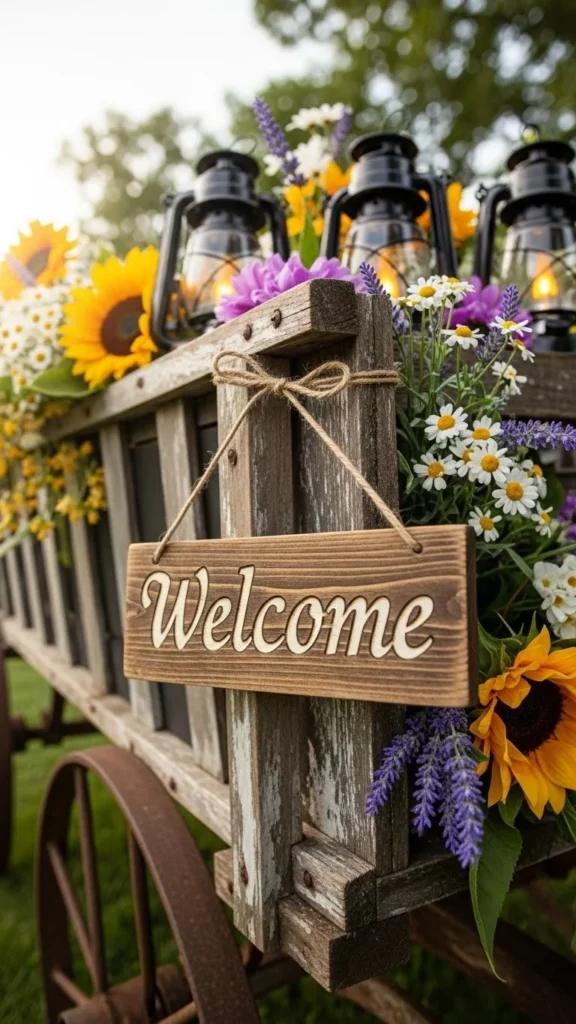
A rustic wagon doubles as a sign holder. Add a small wooden board with a welcome message, then fill the wagon with flowers, lanterns, or candles. It creates a cozy first impression and feels extra thoughtful. DIY by painting an old wooden crate or repurposing a small wagon from a thrift shop. It’s an inexpensive way to greet guests in style.
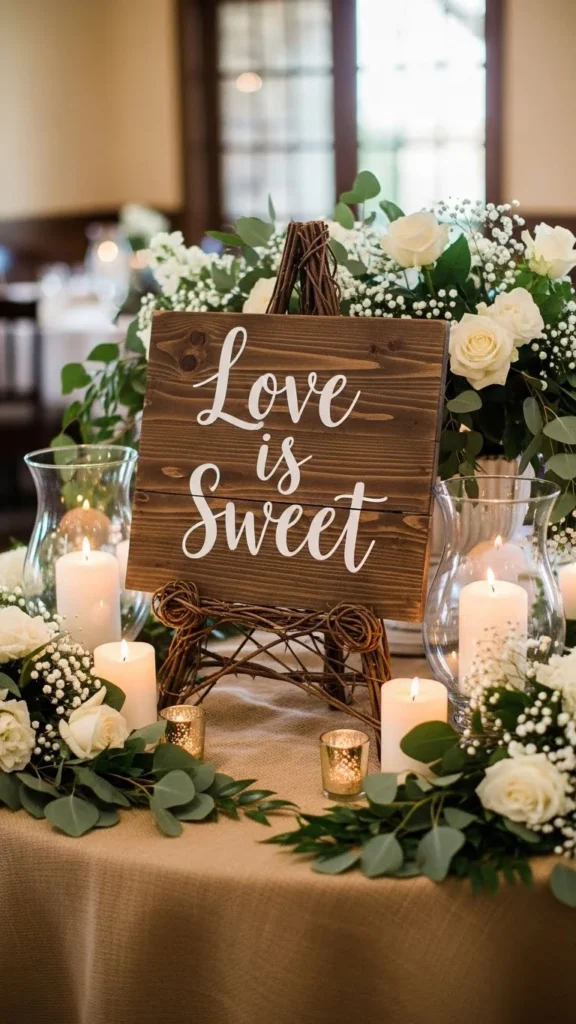
11. Ceremony Program Boards
Display your ceremony program on a board for a rustic, elegant touch. Large wooden or chalkboard signs are budget-friendly and easy to create. Paint or write the order of events clearly. Add florals or ribbon to match the decor. This keeps guests informed without distributing individual paper programs and doubles as a pretty decor piece.
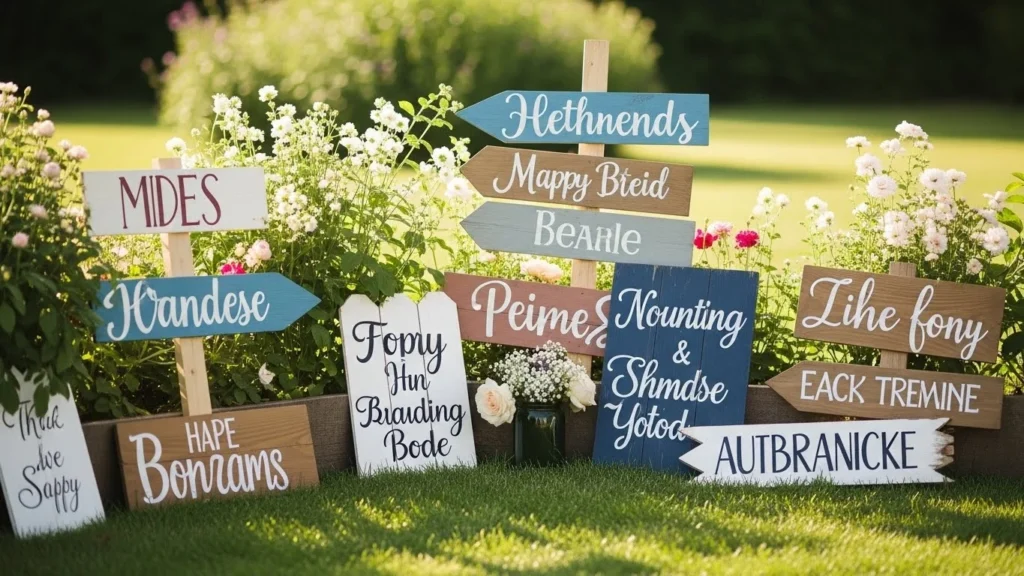
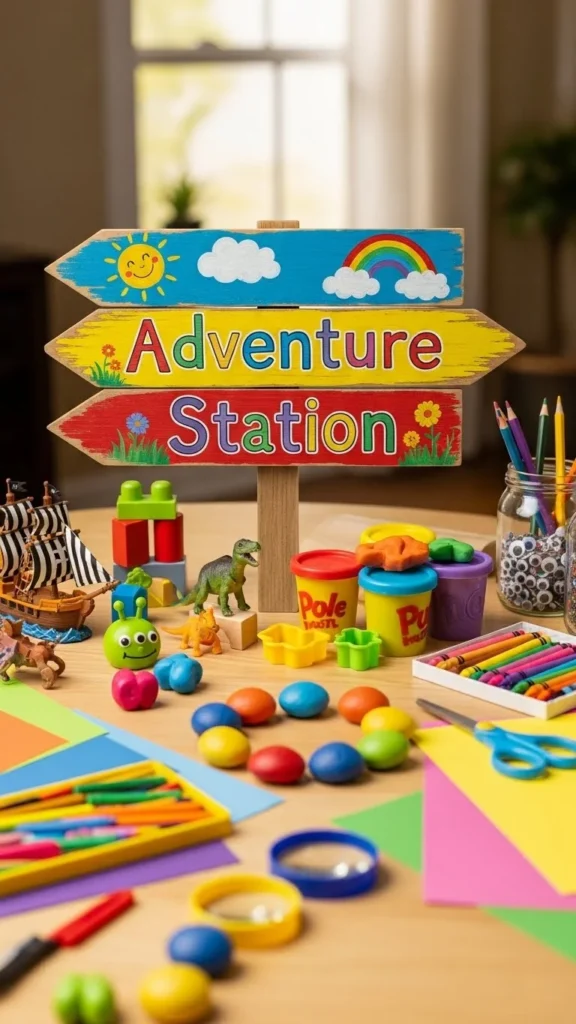
12. Directional Signposts With Multiple Destinations
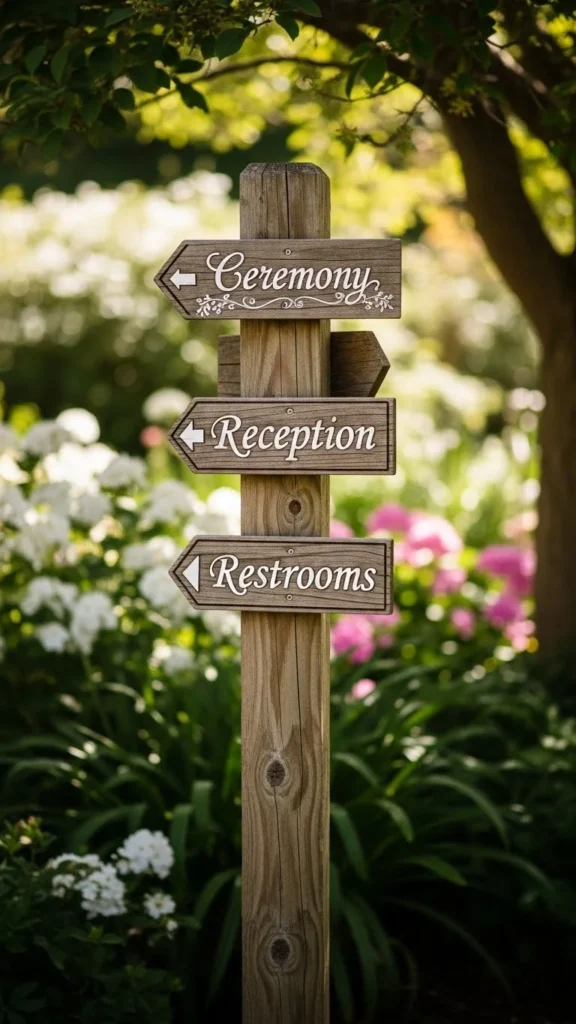
A signpost is fun and practical. Stack multiple wooden planks with arrows pointing to different areas. Paint in playful colors or leave natural for rustic charm. DIY with reclaimed wood and a hand saw. Add small decorations like vines or ribbons for personality. Guests enjoy the whimsical look while finding their way easily.
13. Bridal Party Welcome Signs
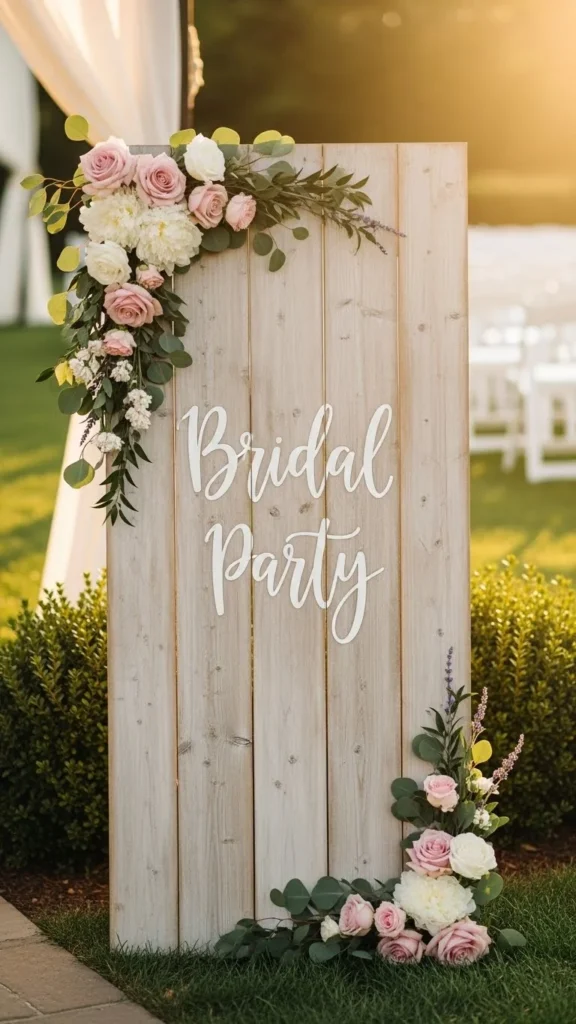
Welcome your bridal party with a cheerful sign. Use small easels or hang from a frame. Decorate with fresh flowers, ribbons, or greenery. DIY options include painting the sign with metallic accents or glitter. This creates a special moment for your friends and family while keeping the area fun and organized.
14. Drink Station Fun Signs
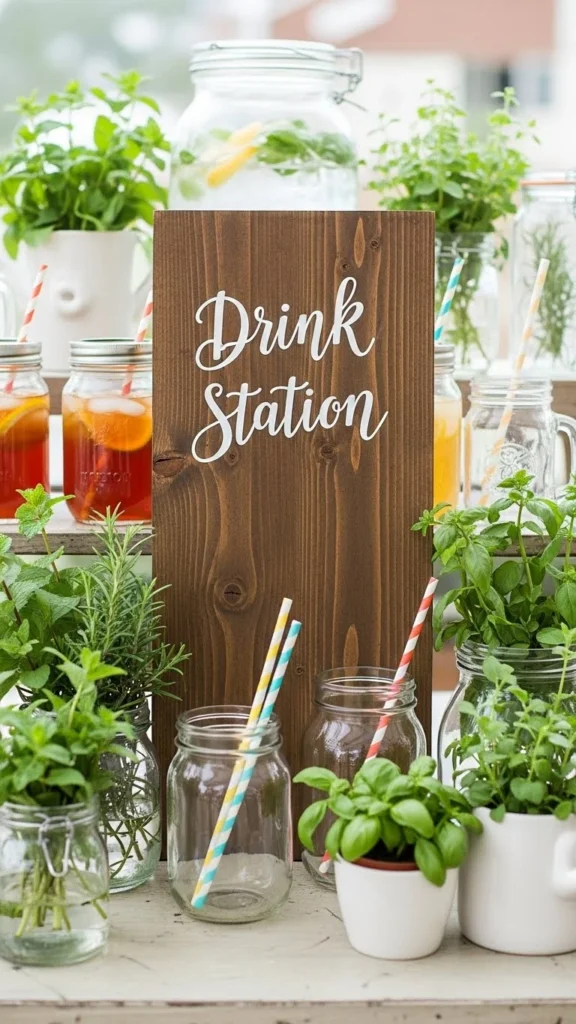
Add playful signs to your drink station. Label beverages with small wooden boards or chalkboard tags. Include illustrations like citrus slices or mint sprigs for charm. DIY is simple: cut small wooden boards, paint labels, and insert into jars or holders. Guests enjoy the cute details, and it adds style to a practical setup.
15. Outdoor Ceremony Weather Signs
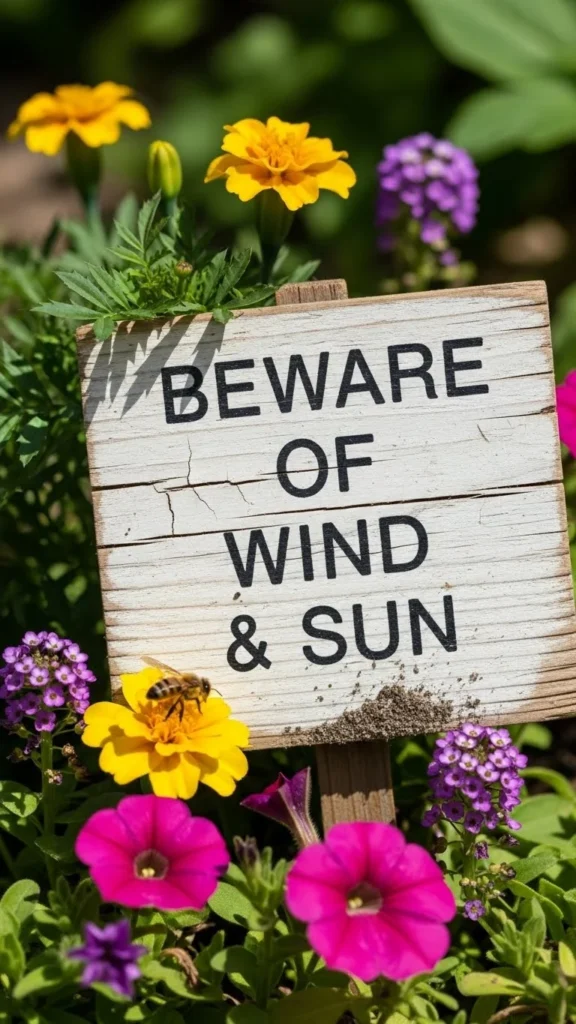
Help guests prepare for weather in style. Use small signs for sunglasses, fans, or blankets. Decorate with ribbon or flowers to match your theme. DIY with simple painted boards or printed cards in frames. This shows thoughtfulness while keeping the look cute and cohesive.
16. Cake Table Signage
Label the cake or sweets with a small decorative sign. Wooden blocks or mini chalkboards work great. Add fresh flowers or ribbons to match the wedding palette. DIY by painting wooden slices or using small frames for printed messages. It creates a polished, coordinated look on your dessert table.
17. Lawn Game Instructions
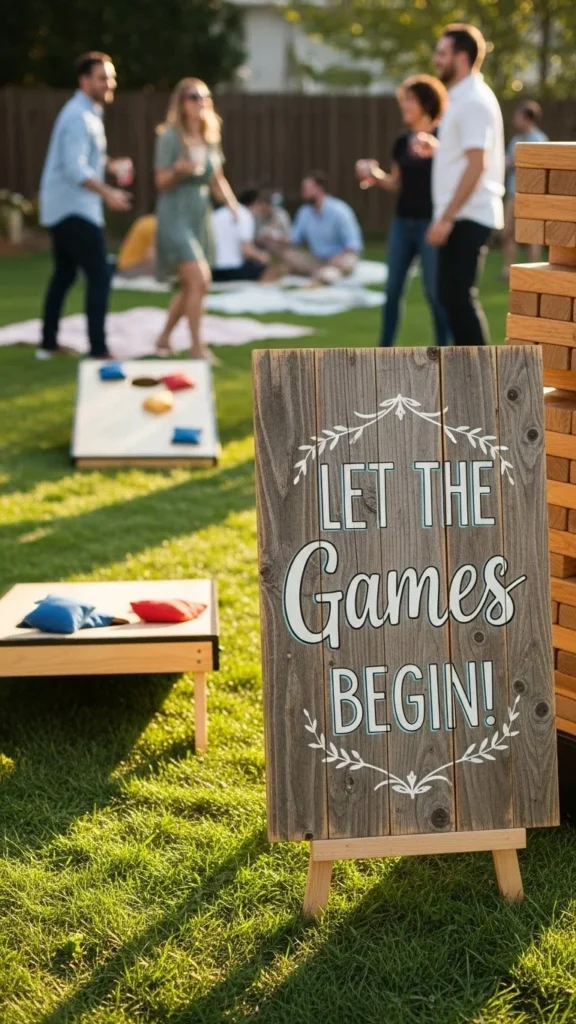
If you have outdoor games, provide small instruction signs. Wooden stakes or chalkboards work well. Keep it short and playful. DIY with painted boards or print simple instructions on cardstock. Guests will appreciate knowing how to play, and it adds charm to the game area.
18. Restroom Signs
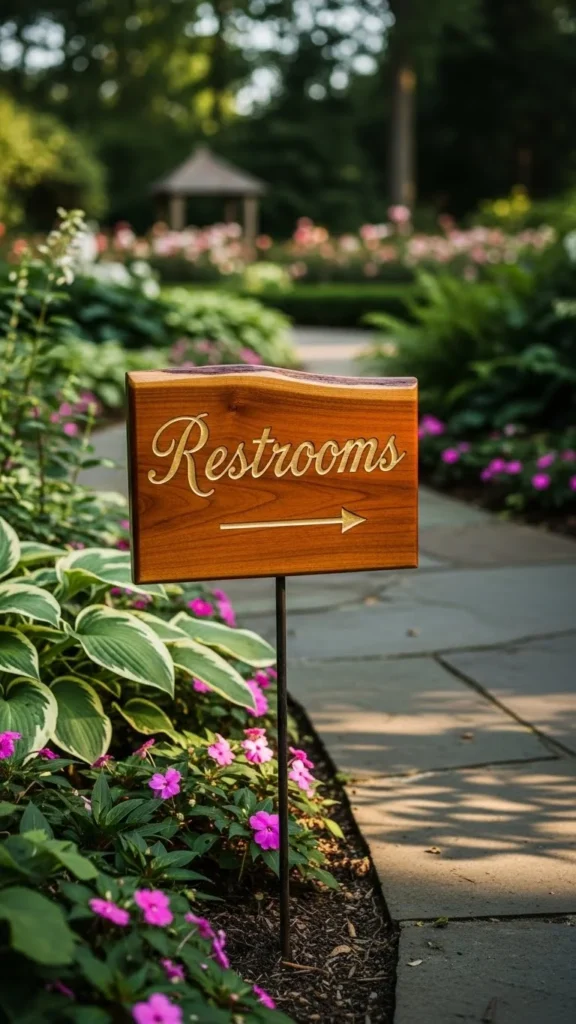
Guide guests with restroom signs that match your decor. Wooden boards or framed prints are inexpensive options. Add small flowers or greenery for a polished look. DIY by painting or stenciling simple symbols. Clear signage keeps guests comfortable and your wedding organized.
19. Family Table Signs
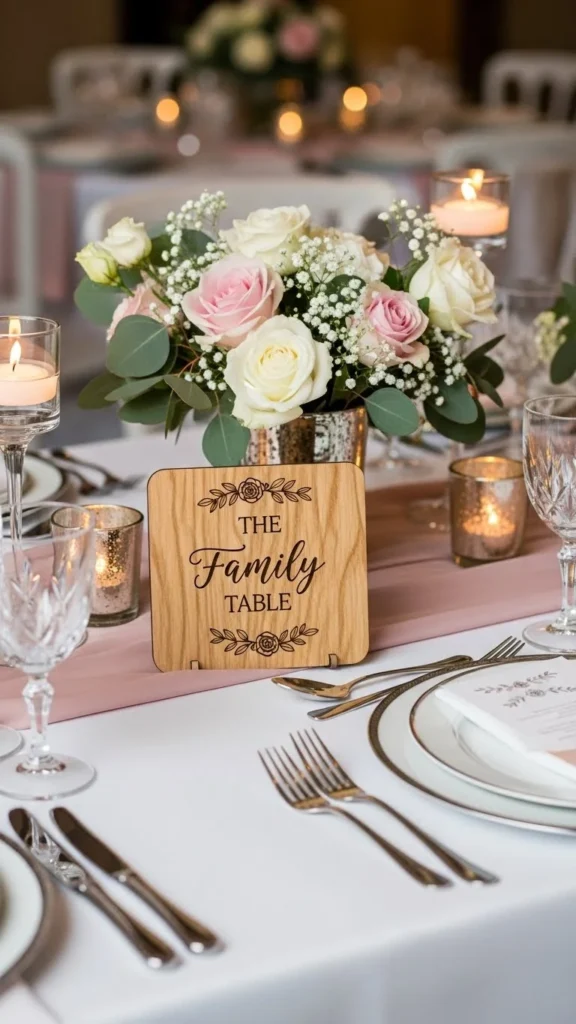
Identify important seating with family table signs. Use small wooden blocks, frames, or chalkboards. Add floral accents or ribbons. DIY is simple: paint or write names in metallic or pastel colors. It keeps seating clear and feels personal without being stuffy.
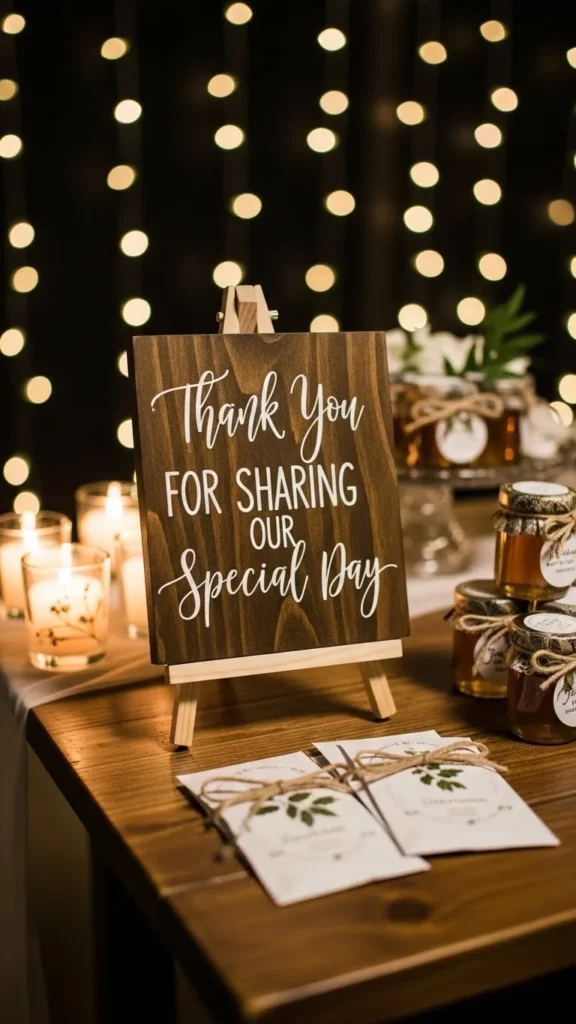
20. Thank You Signs
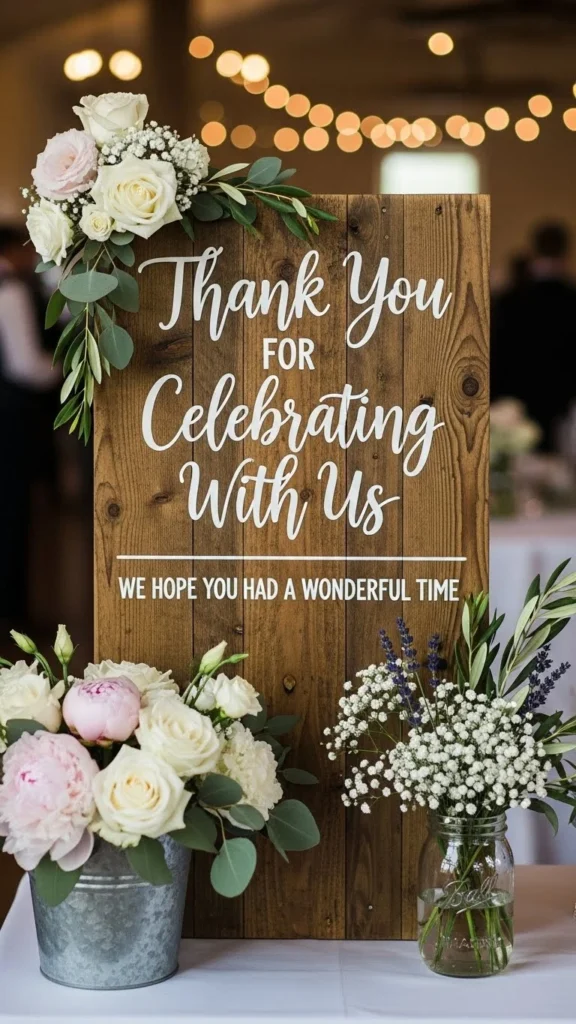
End the night with thank you signs. Place them near the exit or favor table. Wooden boards, chalkboards, or framed prints work well. DIY by painting or stenciling your message. Guests will leave feeling appreciated, and it adds a sweet, personal touch to your wedding decor.
21. Kids’ Table Fun Signs
Keep children entertained with a fun sign for their table. Use bright colors and playful shapes. DIY with cardboard, markers, and stickers. Add small crafts or activities for them to enjoy. Guests with kids will love the thoughtful touch, and it keeps the area organized and engaging.
22. In-Loving-Memory Tribute Sign
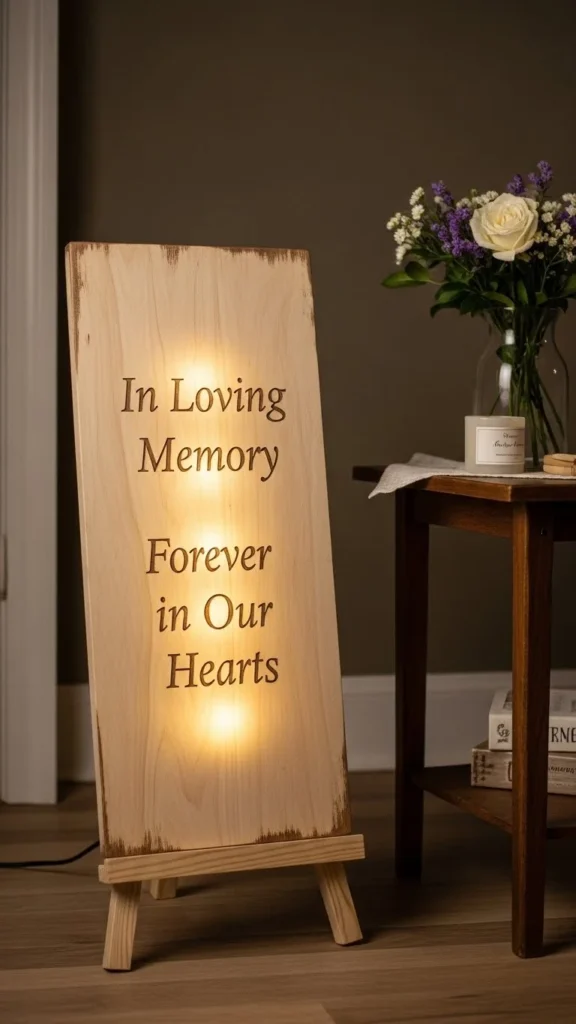
Honor loved ones who couldn’t be there with a heartfelt tribute sign. A simple wooden board, acrylic sheet, or framed print works beautifully. Add candles, photos, or small mementos for a touching display. DIY options include using vinyl lettering, hand-painted calligraphy, or printed text. This sign creates a meaningful moment for guests and adds warmth and remembrance to your celebration.
23. Unplugged Ceremony Sign
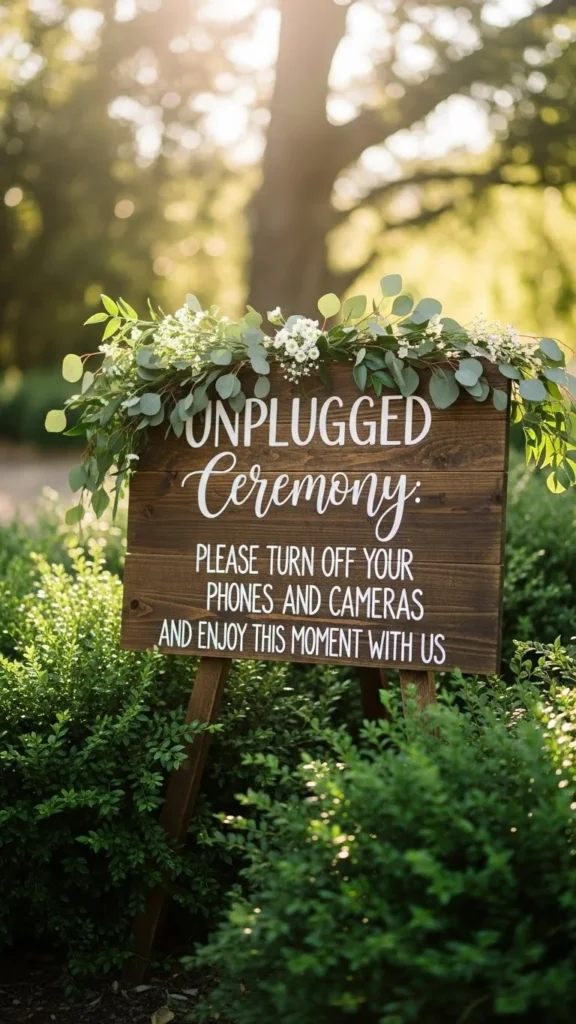
Encourage guests to be present by creating an unplugged ceremony sign. Use wood, chalkboard, or acrylic to craft a warm and polite message. Decorate with small floral sprigs or greenery to tie in with your theme. DIY by printing your message and framing it or painting it directly on a board. It keeps your ceremony intimate and ensures your photos stay distraction-free
24. Favors Table Sign
Help guests navigate the favor table with a decorative sign. Whether you choose wood, chalkboard, or cardstock, a simple “Please take one” message works perfectly. Add ribbons, flowers, or greenery to match your décor. DIY by painting or printing your message and placing it in a thrifted frame. This adds charm and makes your favor station feel polished and thoughtful.
25. Dance Floor Invitation Sign
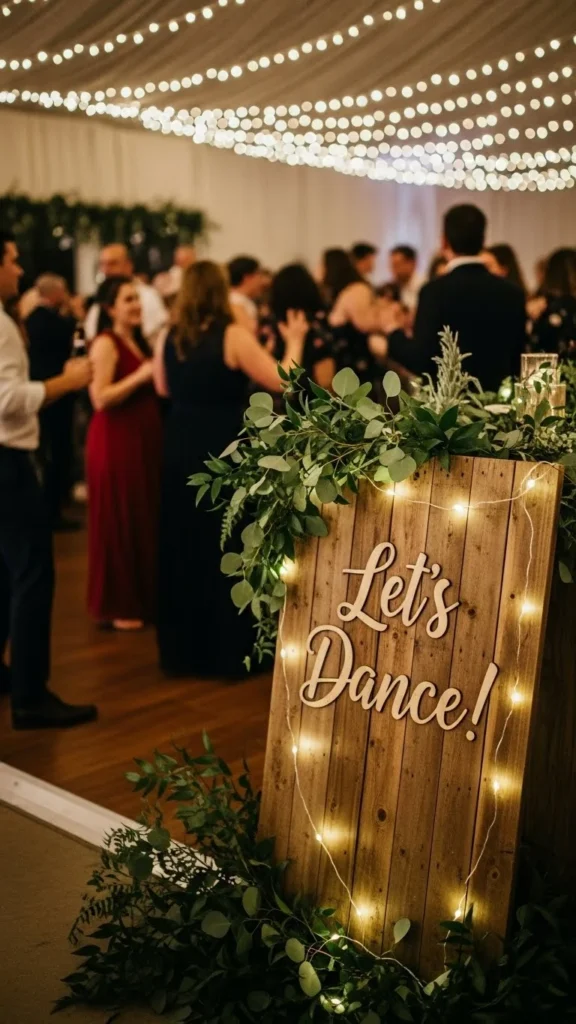
Invite guests to let loose with a fun dance floor sign. Use playful shapes, bright accents, or rustic wood depending on your wedding theme. DIY with painted boards, stencils, or printed lettering. Add small touches like fairy lights or floral garlands to make it pop. A cute dance floor sign sets the tone for an energetic, joyful celebration and encourages guests to get moving.
Conclusion
Adorable wedding signs do more than guide guests—they add character, charm, and personality to every corner of your celebration. From budget-friendly DIY ideas to simple decorative touches, each sign becomes part of your story. With creativity, a few materials, and personal flair, you can craft signs that feel custom-made without overspending. These little details make your wedding feel warm, memorable, and uniquely yours.